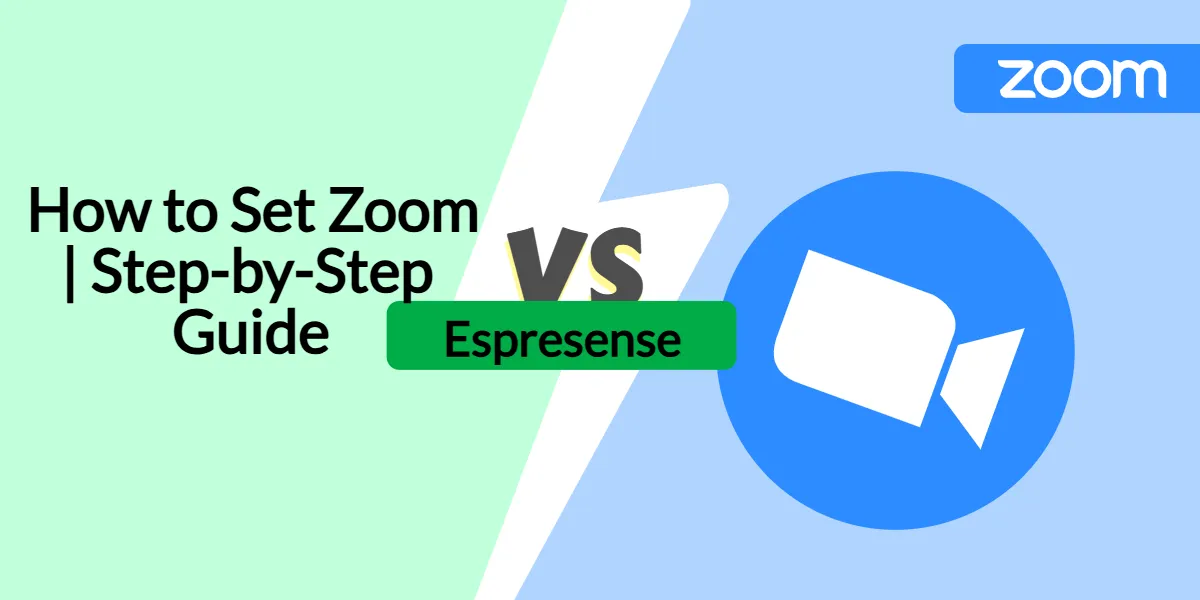
If you’re using Espresense, you probably know it’s a powerful tool for Bluetooth-based presence detection. It’s commonly used with smart home platforms like Home Assistant, helping automate lights, media, and security based on who is present.
But here’s a common challenge: many users struggle with the Zoom setting in Espresense. Adjusting Zoom properly is essential to fine-tune detection accuracy. If Zoom is too wide, Espresense may pick up unwanted signals; if it’s too narrow, it might miss devices you want to track.
So, if you’ve been asking “How do I set Zoom in Espresense?”, this guide is for you.
We’ll explain what the Zoom setting means, why it matters, and walk you through step-by-step instructions on how to configure it properly.
Why the Zoom Setting in Espresense Matters
Espresense works by estimating how close or far a device is based on Bluetooth signal strength. The Zoom feature essentially allows you to adjust the “focus” of detection so the system can better differentiate between near and far devices.
Getting this right matters because:
- It reduces false triggers from neighbors’ devices.
- It improves room-level accuracy.
- It ensures smoother automation in Home Assistant or other platforms.
Think of Zoom as a calibration tool for precision.
Step 1: Access Your Espresense Dashboard
Before you can adjust Zoom, you need to log in to the Espresense dashboard. This is where all configuration settings live.
Why it matters: The dashboard gives you a clear, centralized place to see device signals, strengths, and presence status. Without accessing it, you won’t be able to make adjustments.
Here’s how to do it:
- Open a web browser on your laptop or phone connected to the same network as Espresense.
- Enter the IP address of your Espresense device.
- Log in with your admin credentials.
👉 Once you’re inside, you’ll see various tabs including devices, settings, and logs.
Step 2: Navigate to Device Settings
Now that you’re inside the dashboard, the next step is finding the device you want to adjust Zoom for. Espresense detects multiple devices, so choosing the correct one is important.
Why it matters: Zoom is applied per device, so you’ll need to configure it based on how you want presence detected for each.
Steps:
- Go to the Devices tab in the dashboard.
- Select the device (e.g., your phone, smartwatch, or tag) you want to optimize.
- Open its configuration panel.
Step 3: Locate the Zoom Option
The Zoom setting is part of the presence-detection configuration. It controls how tightly Espresense interprets the distance estimation of your device.
Why it matters: This is the setting that determines whether Espresense considers your device “close enough” to trigger automations.
Here’s how to find it:
- In the device’s configuration panel, scroll down to Detection Settings.
- Look for the option labeled Zoom.
Step 4: Understand the Zoom Value
Before changing the Zoom setting, it’s important to understand what the numbers mean.
Why it matters: If you set it blindly, you may end up with inaccurate detection, causing lights to flicker on and off or automations to misfire.
In simple terms:
- Higher Zoom values = wider detection range (less accurate).
- Lower Zoom values = narrower range (more precise).
👉 A good starting point is the default value, then adjust based on your home environment.
Step 5: Adjust the Zoom Setting
Now it’s time to make the change.
Why it matters: Fine-tuning Zoom is where the real optimization happens. This ensures Espresense reacts only when you’re truly present.
Steps:
- In the Zoom field, enter your desired value (start small).
- Save the changes.
- Restart Espresense if prompted.
Step 6: Test Device Detection
Changing Zoom isn’t enough—you need to verify whether it works in real conditions.
Why it matters: Without testing, you won’t know if your adjustment improved accuracy or caused new issues.
How to test:
- Walk into the room with your device.
- Watch how quickly Espresense recognizes your presence.
- Step out of the room and see when detection drops.
👉 Repeat this a few times until detection feels smooth and reliable.
Step 7: Fine-Tune for Each Room
Every room has a slightly different environment—walls, furniture, and interference can all affect Bluetooth signals. That means your Zoom settings may need to vary room by room.
Why it matters: Applying one universal Zoom setting often leads to mixed results. Customizing per room ensures accuracy everywhere.
Steps:
- Test Zoom in your living room, bedroom, and office separately.
- Adjust each setting as needed for consistency.
- Document your preferred values for future reference.
Step 8: Monitor Logs for Accuracy
Espresense includes logs that help you see exactly when and how presence is detected. This is a great way to confirm whether your Zoom adjustments are working properly.
Why it matters: Logs give you data-driven insight instead of just guesswork.
Steps:
- Open the Logs tab in the dashboard.
- Filter for the device you just configured.
- Review timestamps and signal strengths.
👉 If detection seems too sensitive or too slow, go back and tweak Zoom again.
Step 9: Sync With Home Assistant (Optional)
If you’re integrating Espresense with Home Assistant, you’ll want to confirm that Zoom changes are reflected properly.
Why it matters: Automations like lights turning on or media starting need precise triggers. A poorly set Zoom can create unnecessary triggers.
Steps:
- Go to your Home Assistant dashboard.
- Review presence automations tied to your device.
- Test if Zoom adjustments improved automation accuracy.
Step 10: Revisit Settings Regularly
The environment around you changes—new furniture, additional devices, or even software updates can affect Bluetooth performance. That’s why it’s good practice to revisit your Zoom settings once in a while.
Why it matters: What works today might not be optimal six months later. Regular adjustments keep your smart home running smoothly.
👉 Set a reminder every few months to check and fine-tune Zoom values.
Final Thoughts
Setting Zoom in Espresense may seem like a small detail, but it has a big impact on presence accuracy and automation reliability. By following the steps above—accessing the dashboard, adjusting the setting, testing detection, and fine-tuning for each room—you can ensure Espresense works exactly the way you want.
In 2025, smart homes rely heavily on precision. Taking a few extra minutes to calibrate Zoom makes your system smarter, more reliable, and truly hands-free.